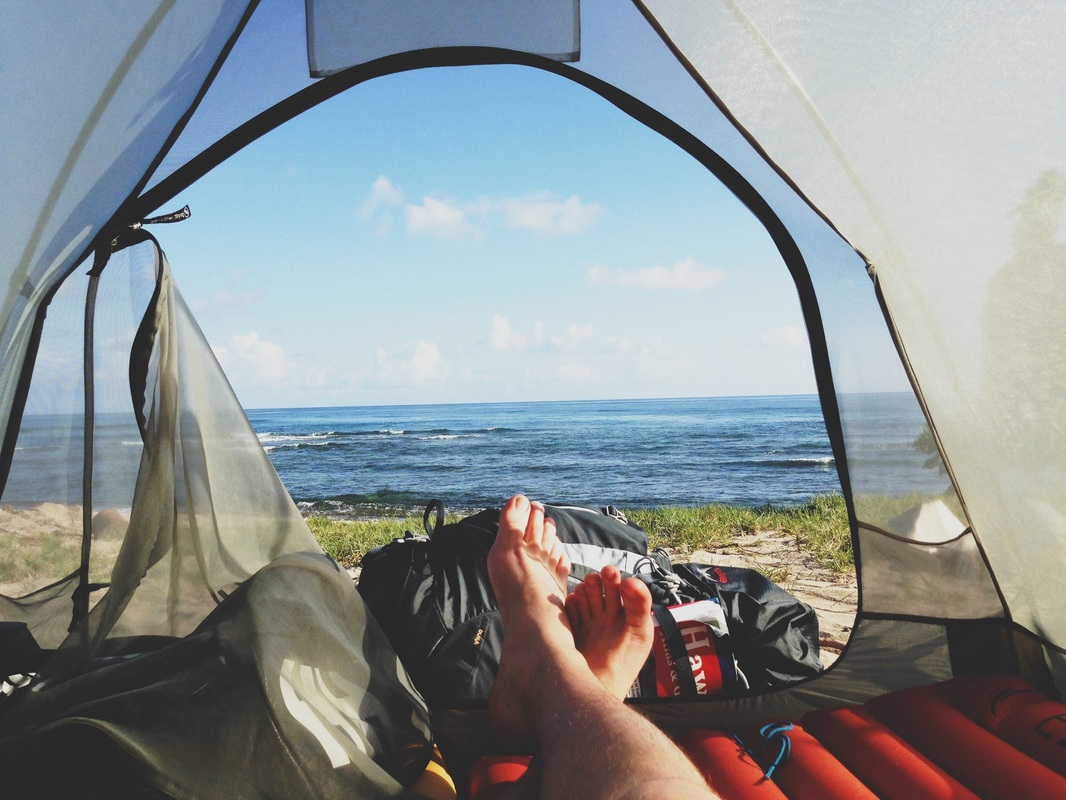
I'm James. This is my year of travel.


Please note: The following steps are based on you having an account with both sites Imageshack Simply right click on the image and select 'Copy Image URL' and you will have the link to the image. This link cannot be used directly though, since it has a lightshot frame. When you choose to upload an image via lightshot, the image is automatically uploaded on Imgur and you get a link to the image. If you wish to use the screenshot on the wiki, the wiki has its own image hosting area that can be found by clicking on 'Upload file' on the left. Below we will cover how you can host screenshots from these three sites. There are many websites that feature free use of this type of function, but the most popular ones are Imgur, Photobucket and Imageshack. Now that you have your image ready to upload, we need a way to host it on the internet. Choose whether u want to Upload, Copy or Save it.Edit the image using the tools given, if needed.Select the area on the screen that you need.You can take a screenshot, instantly edit the screenshot and copy, upload or save. Lightshot is an easy to use application that you can download for Windows/Mac. 
(On a side note, if you press down the control key at the same time you press the other three, it will copy the image to the clipboard instead, making it possible for you to simply paste the image into your photo editing program. You can change this by opening them in Photoshop or any other photo editing/manipulating program, and saving it in either. On a Mac, images are saved as a PNG file. You should find that the screenshot saves straight to your desktop. When you hear the sound of a camera snapping a picture, you know you've done it right. You can them drag the mouse to select the area where you want. To take a screenshot of a selected area, just use Command, Shift and 4. If you want to take a screenshot of the whole of your screen then press Command, Shift, and 3 all at once. You are also able to annotate your snip with a pen and highlighter which allows the snip to be saved or uploaded as an mp4 video. Once a screenshot is saved within your library - you are able to save, share, copy and edit. Snip allows you to take a screenshot of a specific window (hover over the window and click) or a specific area of your screen (click and drag your mouse). Users have the option of opening Snip by Hotkeys, the Taskbar and the Toolbar. Snip is an app available to download from the Microsoft Store. Please be aware that Snip is currently in preview Click to expand folder 'Windows Accessories'.Click on a letter and then click on 'W' or scroll down the list to 'W'.The snipping tool can be found in Windows 10 by: Hold down the Windows key and press 'F'.The snipping tool can be found in Windows 7 by: You can take a free-form snip, rectangular snip, window snip and a full-screen snip. The tool allows you to save the images in. To find the Snipping tool in Vista it is usually located on the start bar. Windows Vista, 7, 8 and 10 users can make use of the Snipping Tool. (These both work on Vista too, but the below steps are recommended instead) It doesn't work for every program, but it works for most, including PWO. Alt + Print Screen takes a screenshot of only the ACTIVE window - in other words, the program you are using right now. Here's a useful trick: if you make sure PWO is the active window, you can hold Alt while you press Print Screen button, then you will take a picture of just PWO, instead of the entire screen. The keys are highlighted in the image on the right. Just like with Macintosh computers, suggested formats are. Once you do that, save the image in either. This will take a picture of your entire screen, which you may then paste into MSPaint, Photoshop, or any other photo editing/manipulating program of your choice. It is located directly after the F12 key and directly above the Insert key (Insert is found above the arrow keys). Press the Print Screen button at the top of your keyboard.
0 Comments
Leave a Reply. |
AuthorWrite something about yourself. No need to be fancy, just an overview. ArchivesCategories |
 RSS Feed
